
Items
| Item | Artist | Medium | Category |
|---|---|---|---|
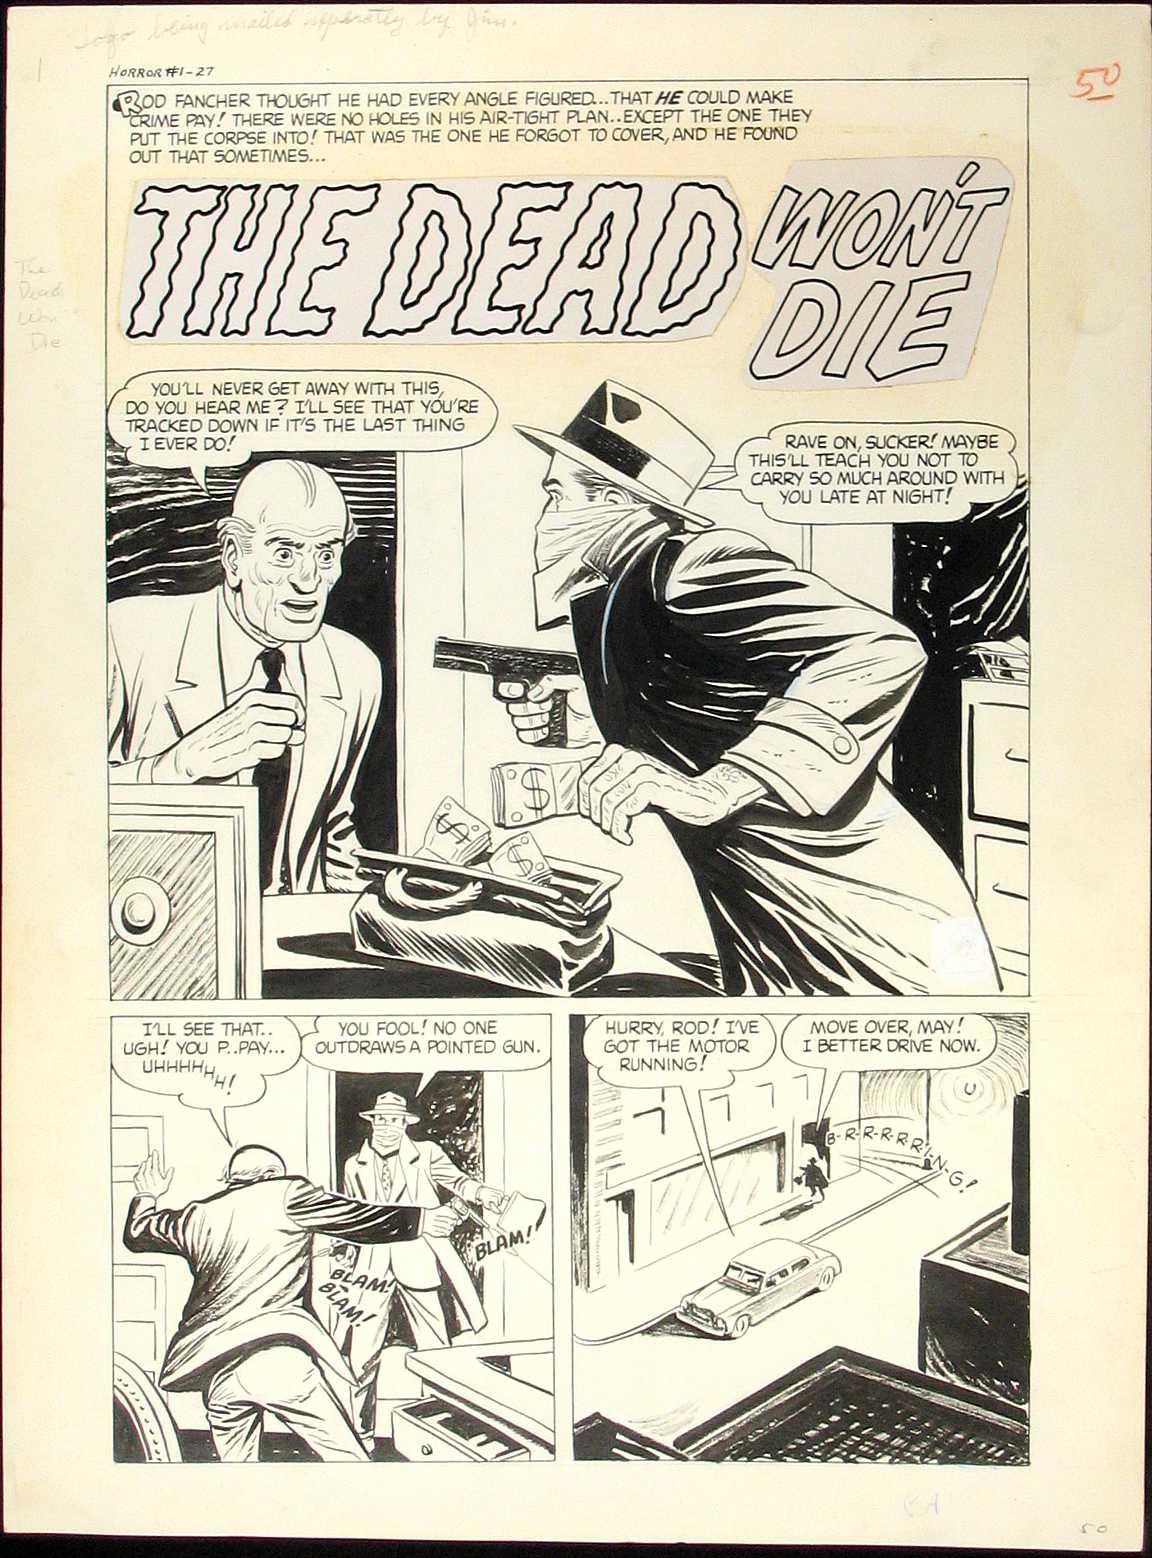 00453 00453Complete original 5-page story art for Witches Tales #1, "The Dead Won't Die" page 1 (Harvey, Jan. 1951) (see 00453 through 00453_5 to view the other pages of the story) (Item 00453) |
Gill, Tom | complete story | Comic Art |
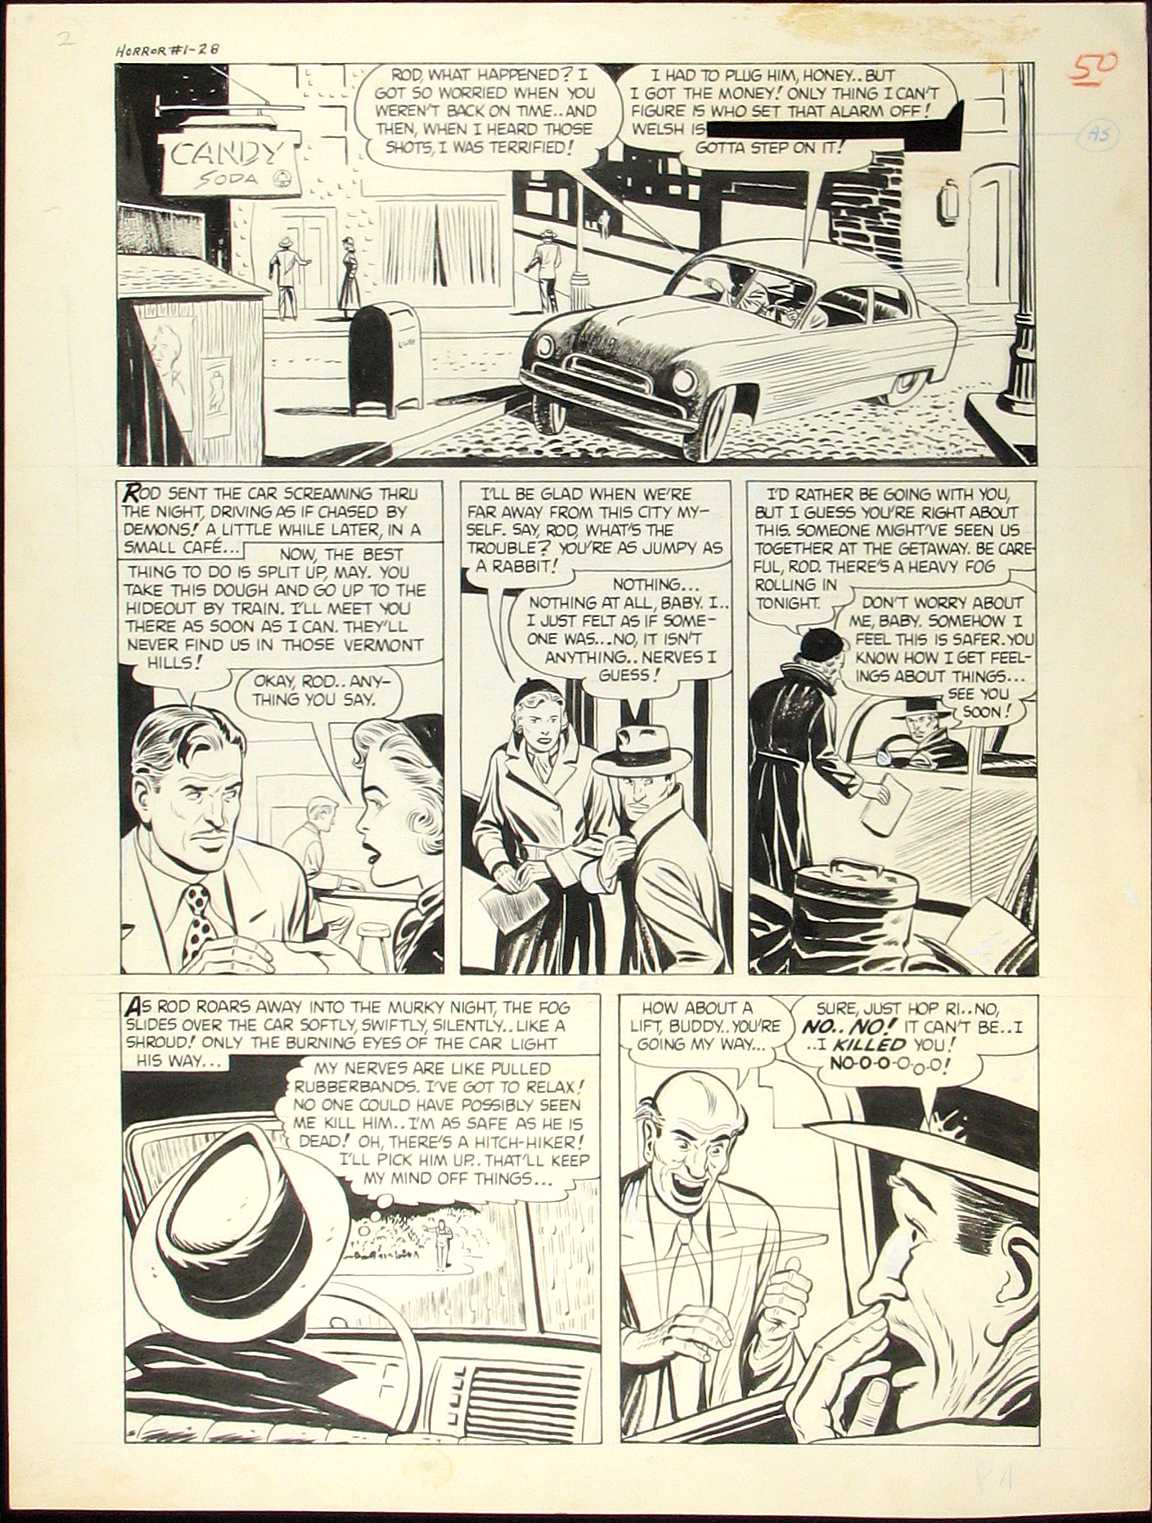 00453_2 00453_2Complete original 5-page story art for Witches Tales #1, "The Dead Won't Die" page 2 (Harvey, Jan. 1951) (see 00453 through 00453_5 to view the other pages of the story) (Item 00453_2) |
Gill, Tom | complete story | Comic Art |
 00453_3 00453_3Complete original 5-page story art for Witches Tales #1, "The Dead Won't Die" page 3 (Harvey, Jan. 1951) (see 00453 through 00453_5 to view the other pages of the story) (Item 00453_3) |
Gill, Tom | complete story | Comic Art |
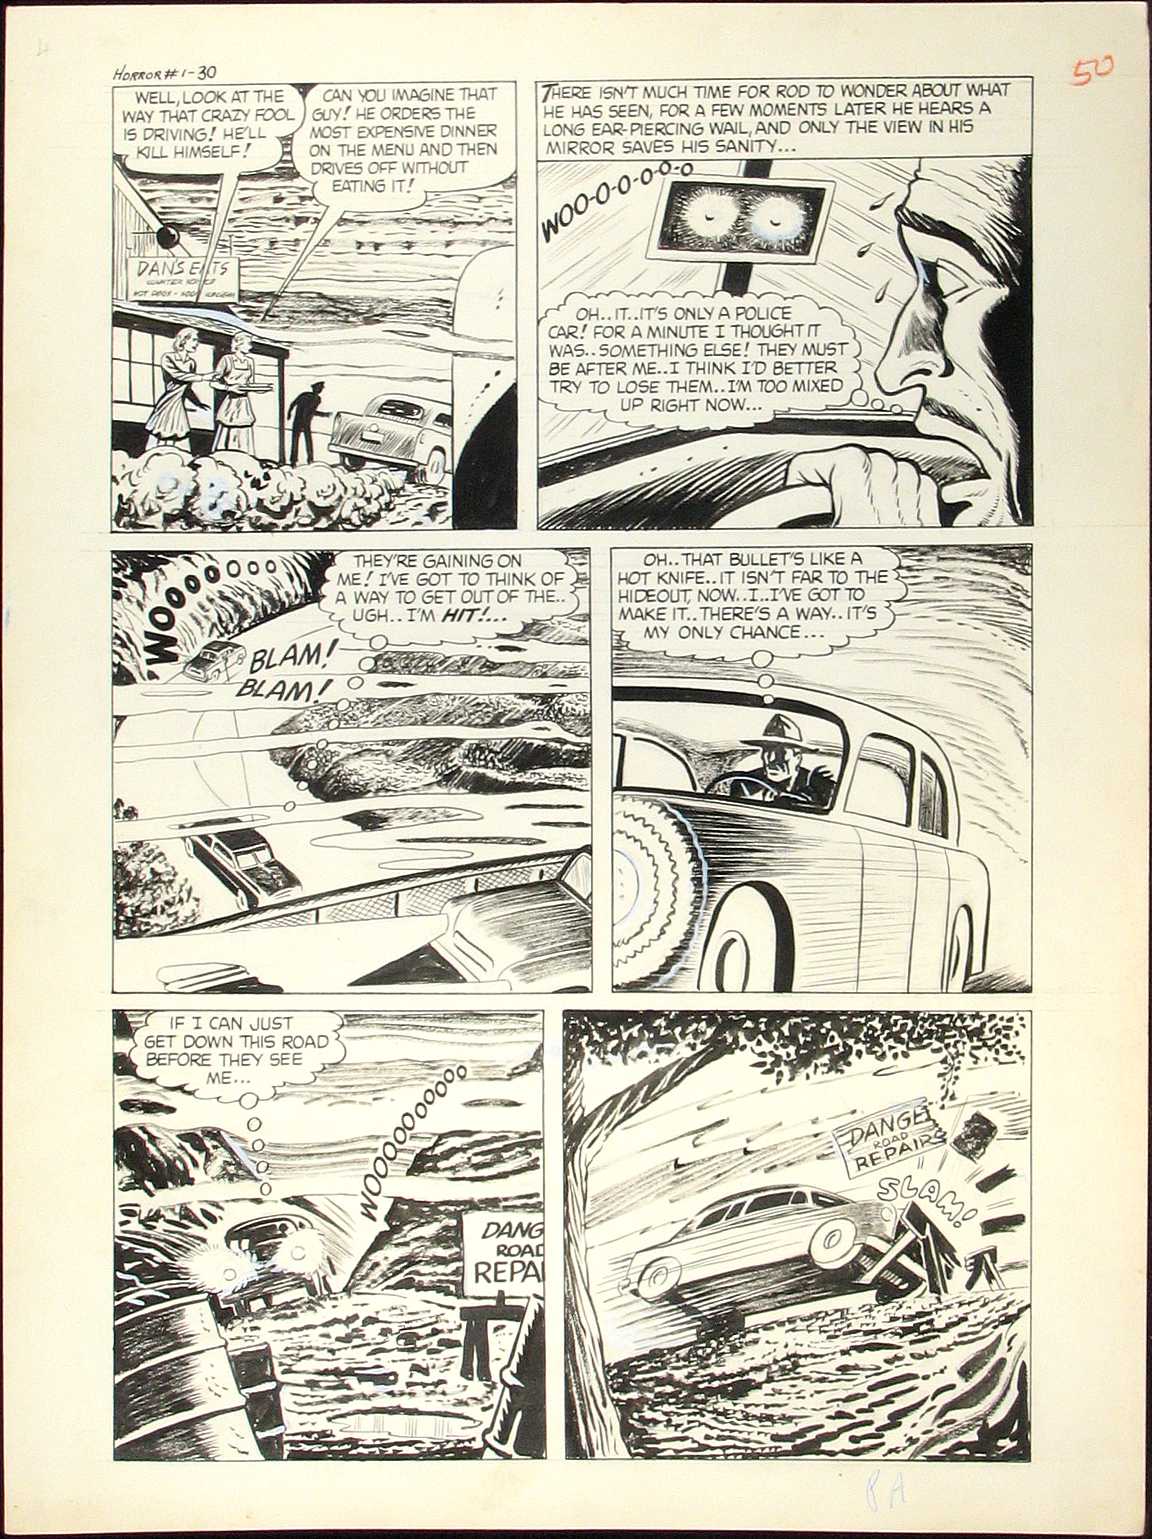 00453_4 00453_4Complete original 5-page story art for Witches Tales #1, "The Dead Won't Die" page 4 (Harvey, Jan. 1951) (see 00453 through 00453_5 to view the other pages of the story) (Item 00453_4) |
Gill, Tom | complete story | Comic Art |
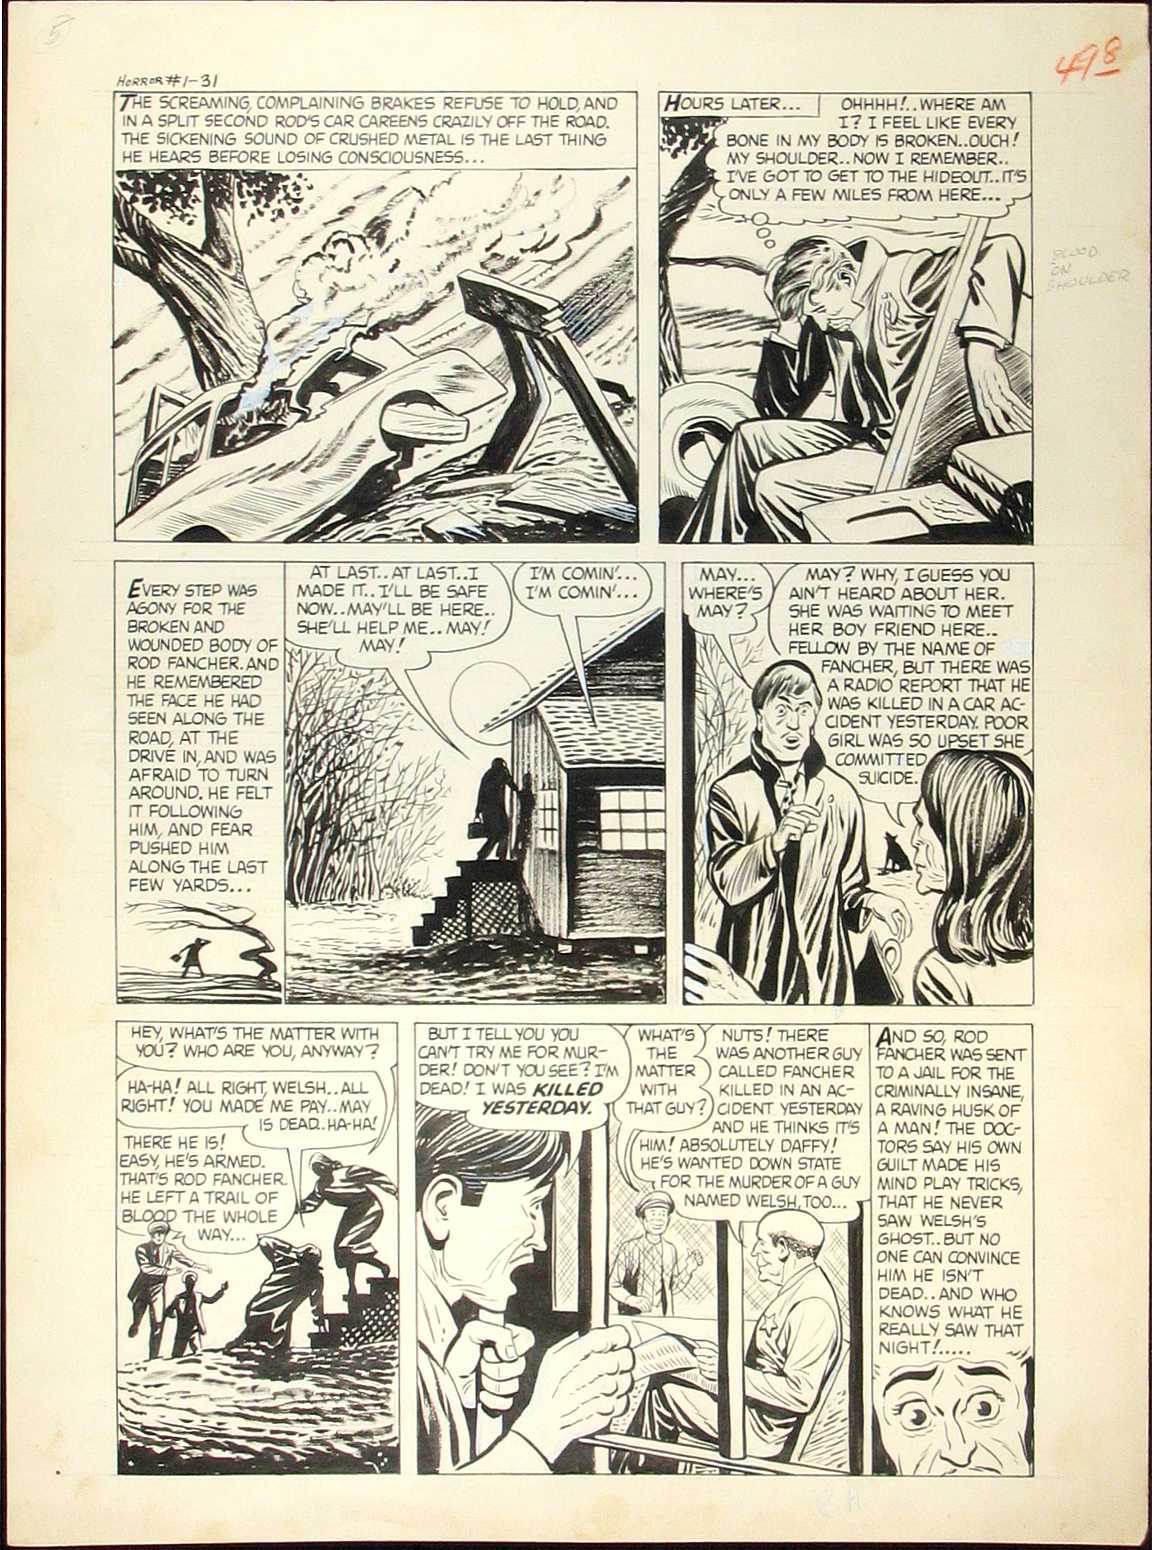 00453_5 00453_5Complete original 5-page story art for Witches Tales #1, "The Dead Won't Die" page 5 (Harvey, Jan. 1951) (see 00453 through 00453_5 to view the other pages of the story) (Item 00453_5) |
Gill, Tom | complete story | Comic Art |
 00458 00458Complete original 2-page story art for Humphrey #18, "Let's Play Handies" page 1 (Harvey, April 1950) (see 00458_2 to view the other page of the story) (Item 00458) |
Kremer, Warren | complete story | Comic Art |
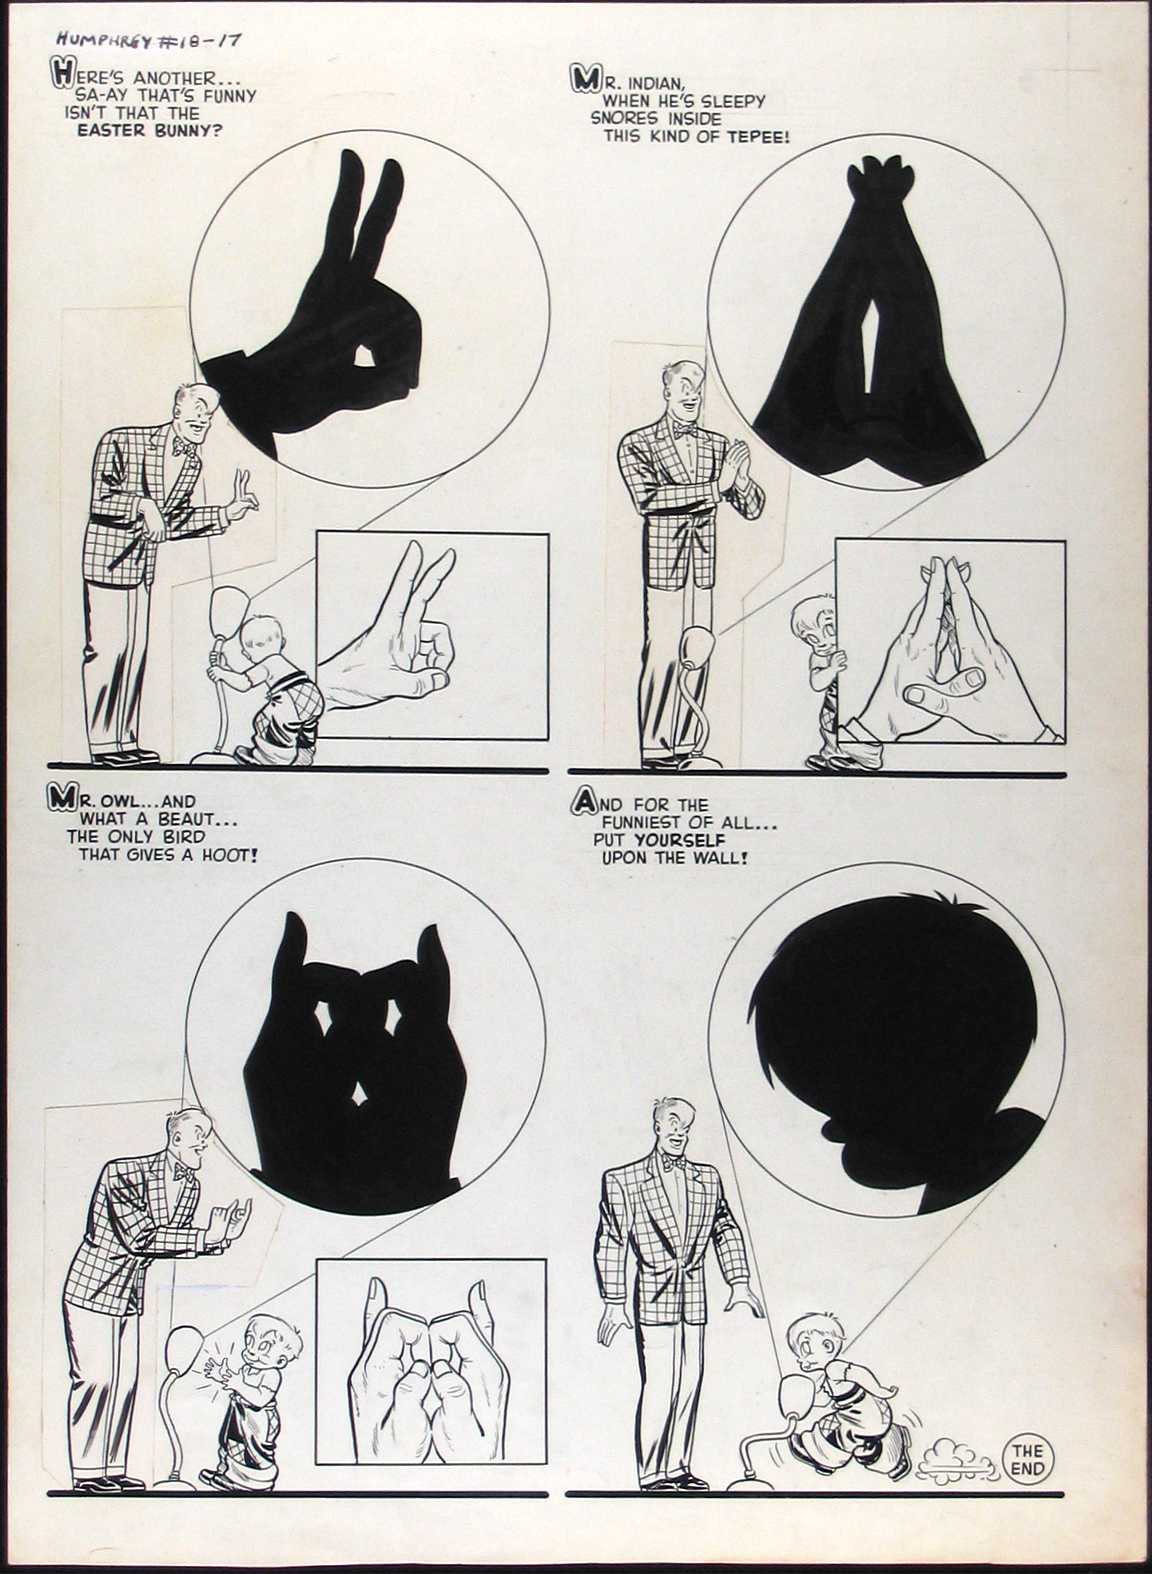 00458_2 00458_2Complete original 2-page story art for Humphrey #18, "Let's Play Handies" page 2 (Harvey, April 1950) (see 00458 to view the other page of the story) (Item 00458_2) |
Kremer, Warren | complete story | Comic Art |
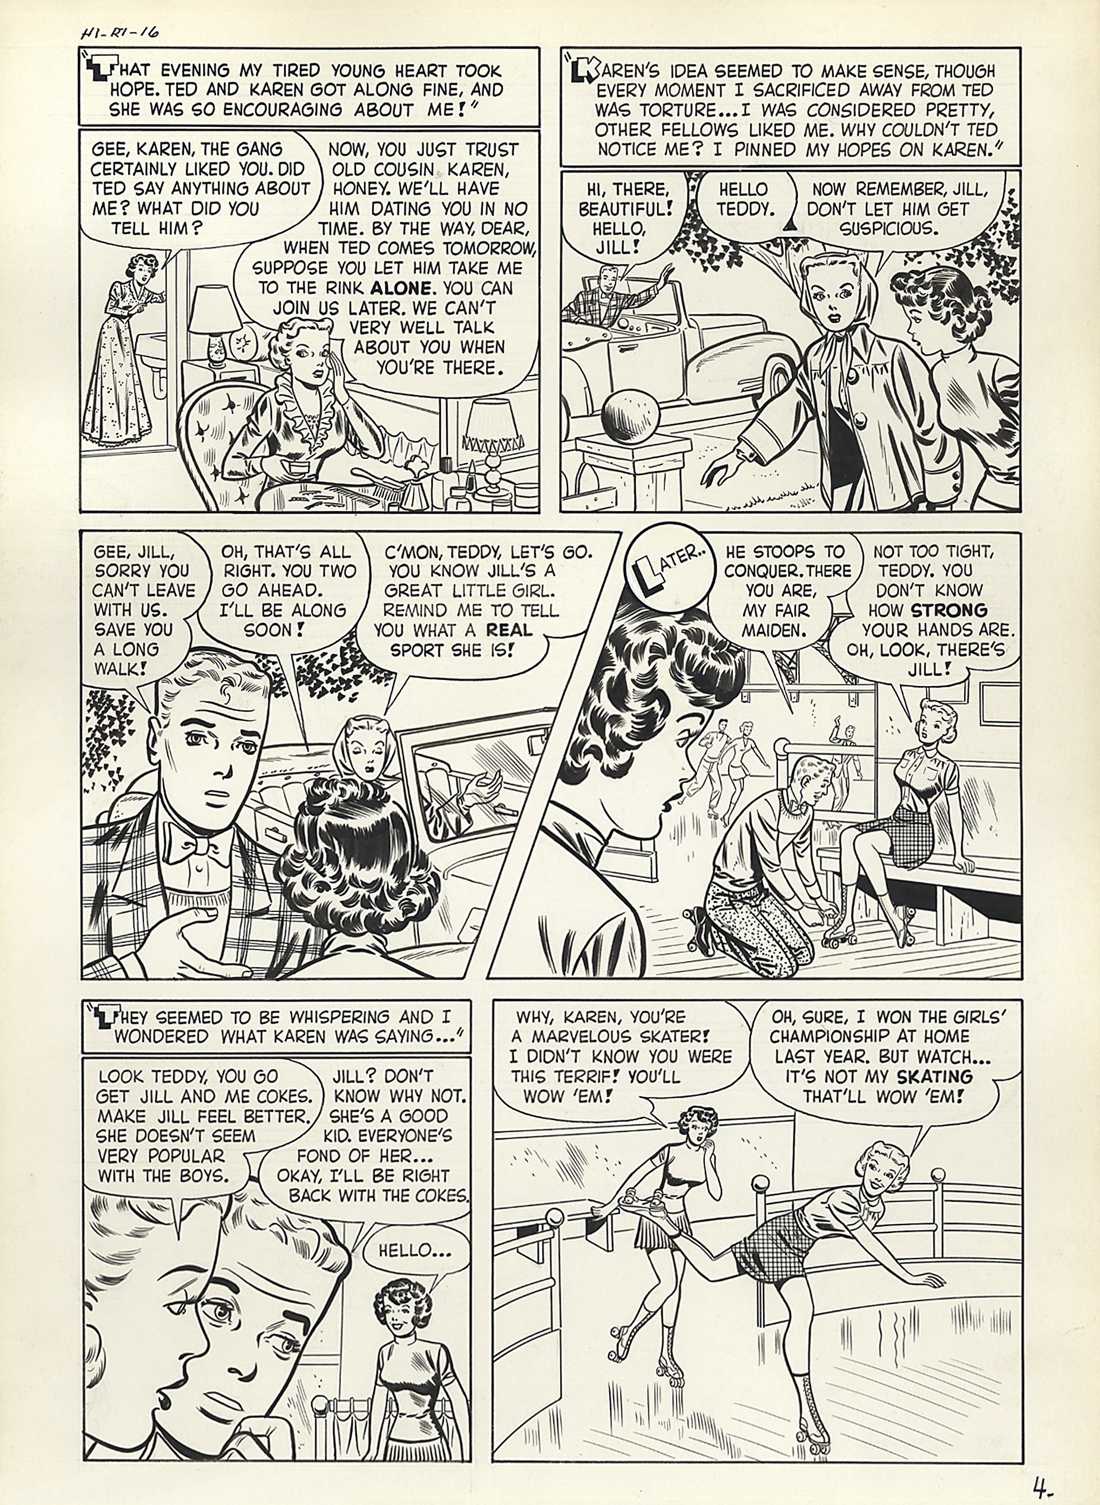
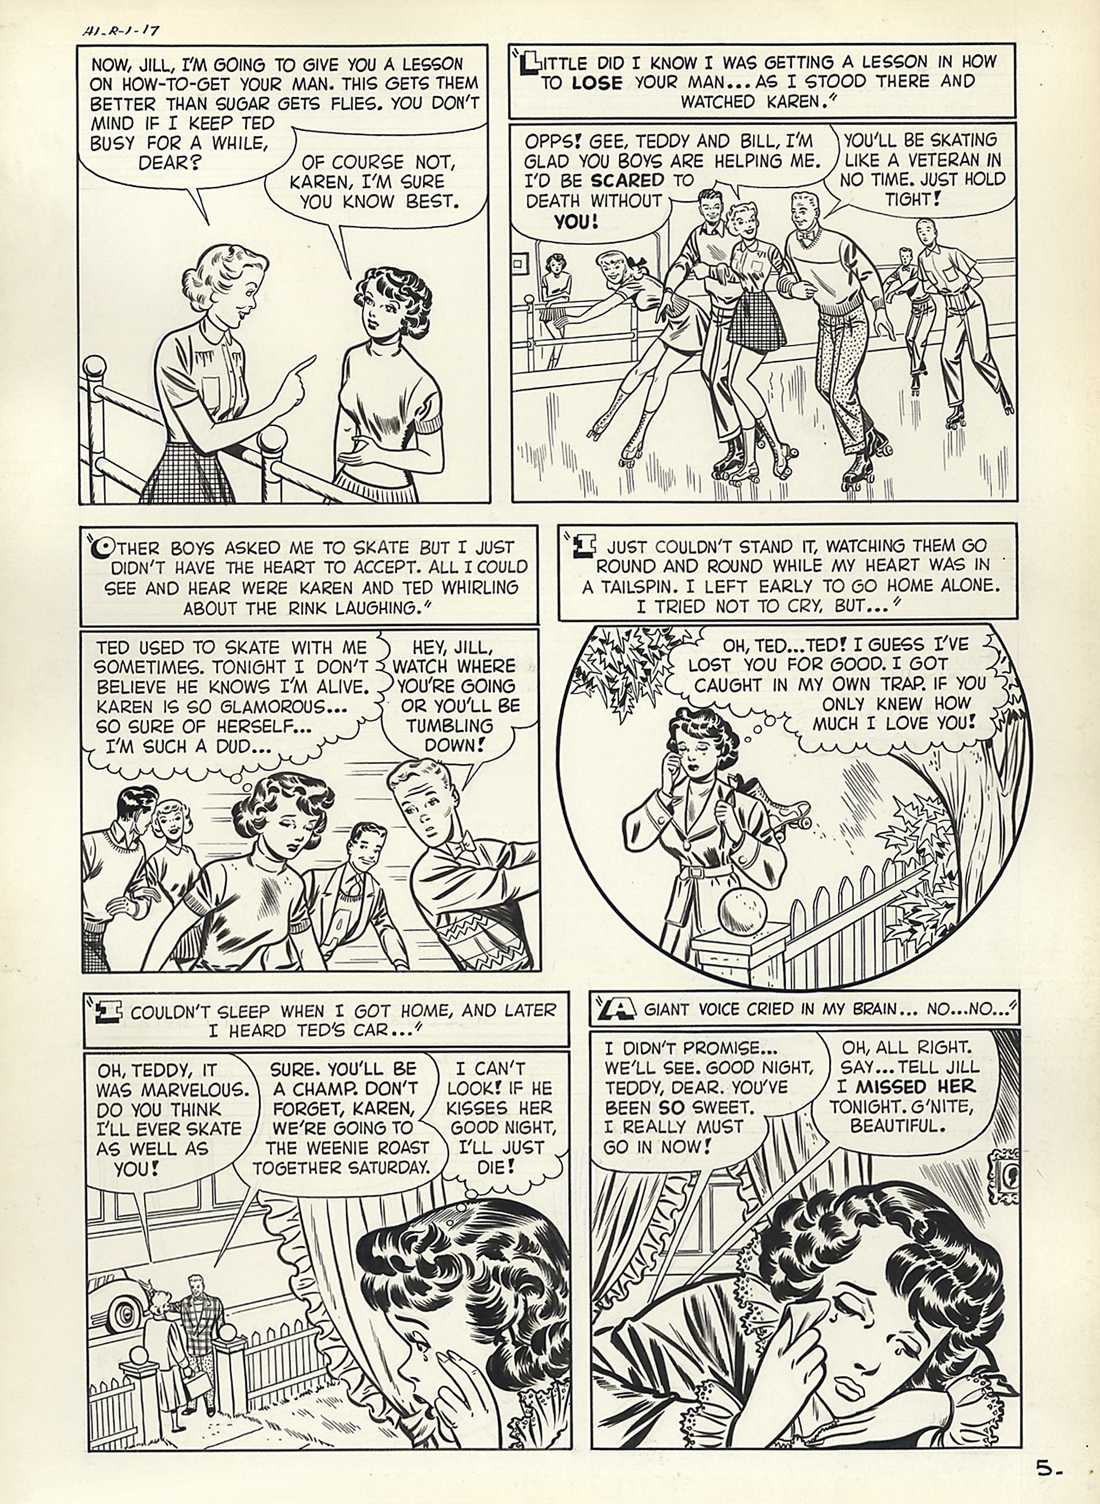
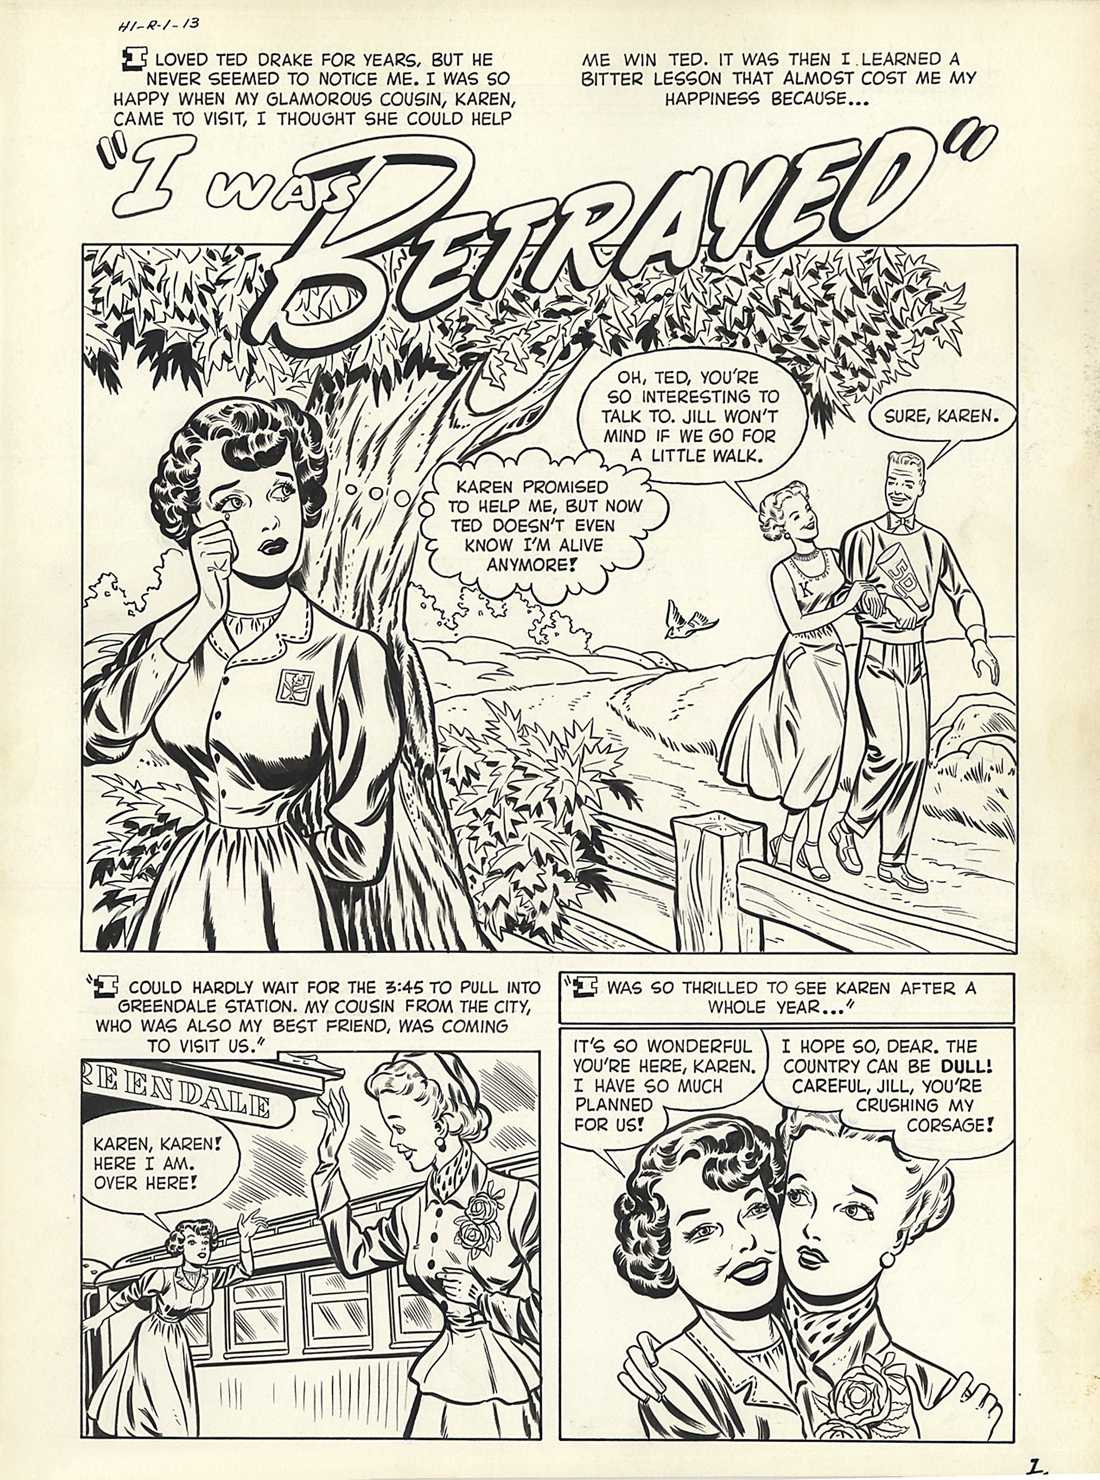 00470 00470Complete original 9-page story art for Hi-School Romances #1, "I Was Betrayed" (Harvey, 1949) (see 00470 through 00470_5 to view other pages from the story) (Item 00470) |
Bailey, Ray | complete story | Comic Art |
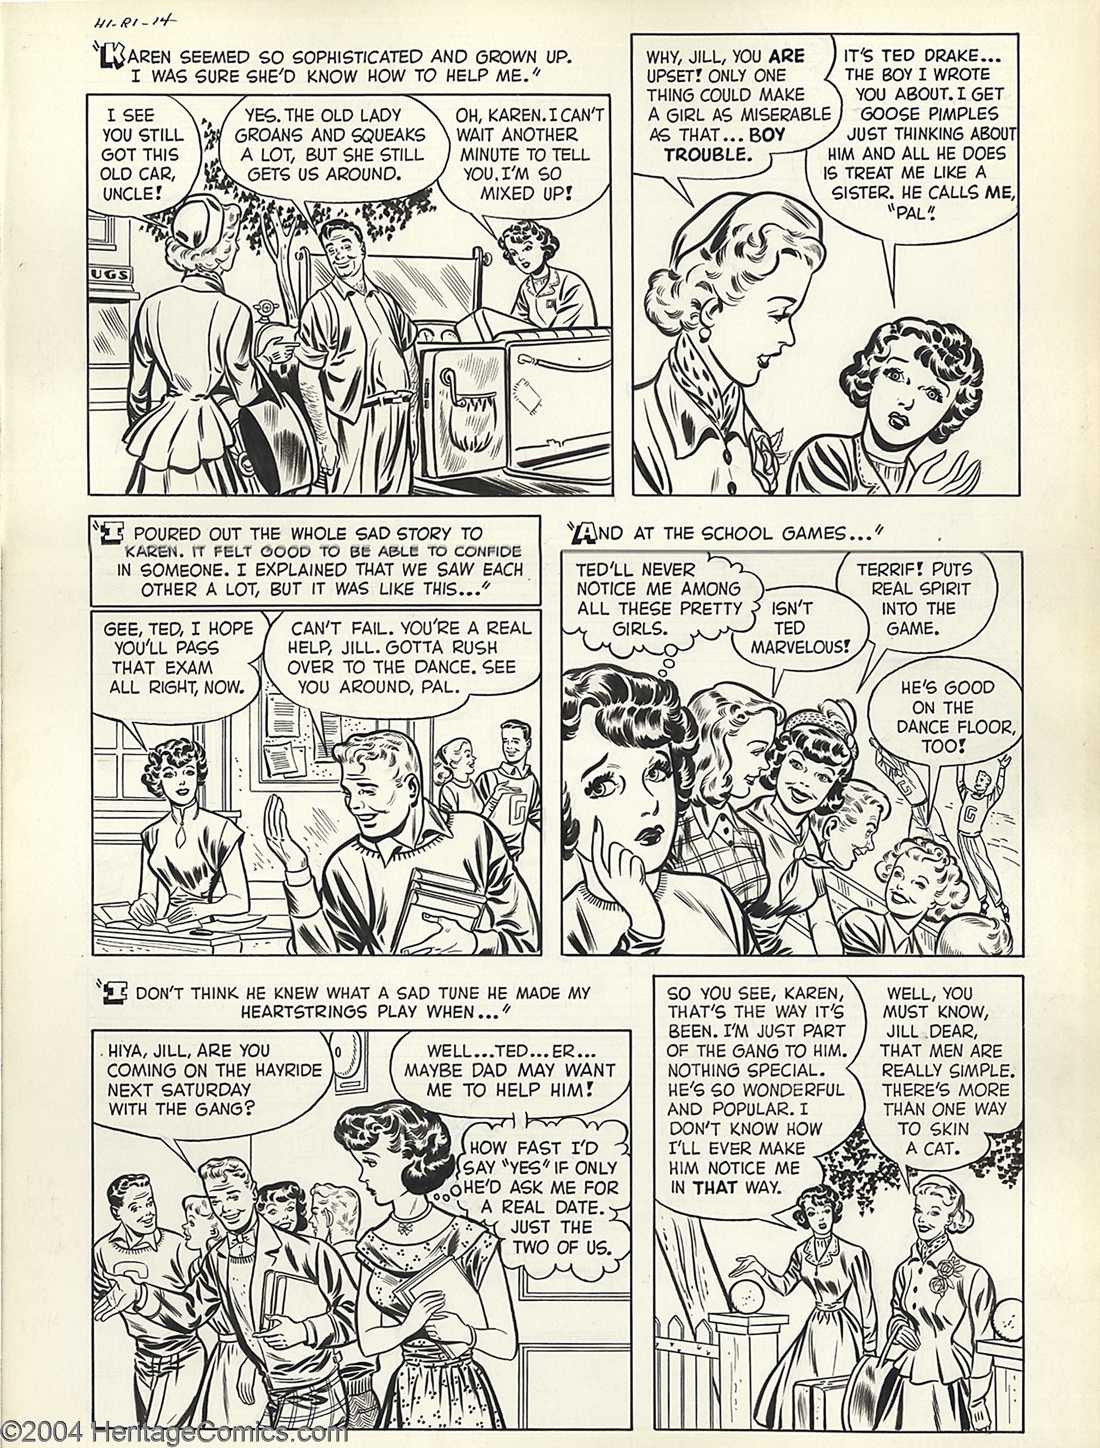 00470_2 00470_2Complete original 9-page story art for Hi-School Romances #1, "I Was Betrayed" (Harvey, 1949) (see 00470 through 00470_5 to view other pages from the story) (Item 00470_2) |
Bailey, Ray | complete story | Comic Art |
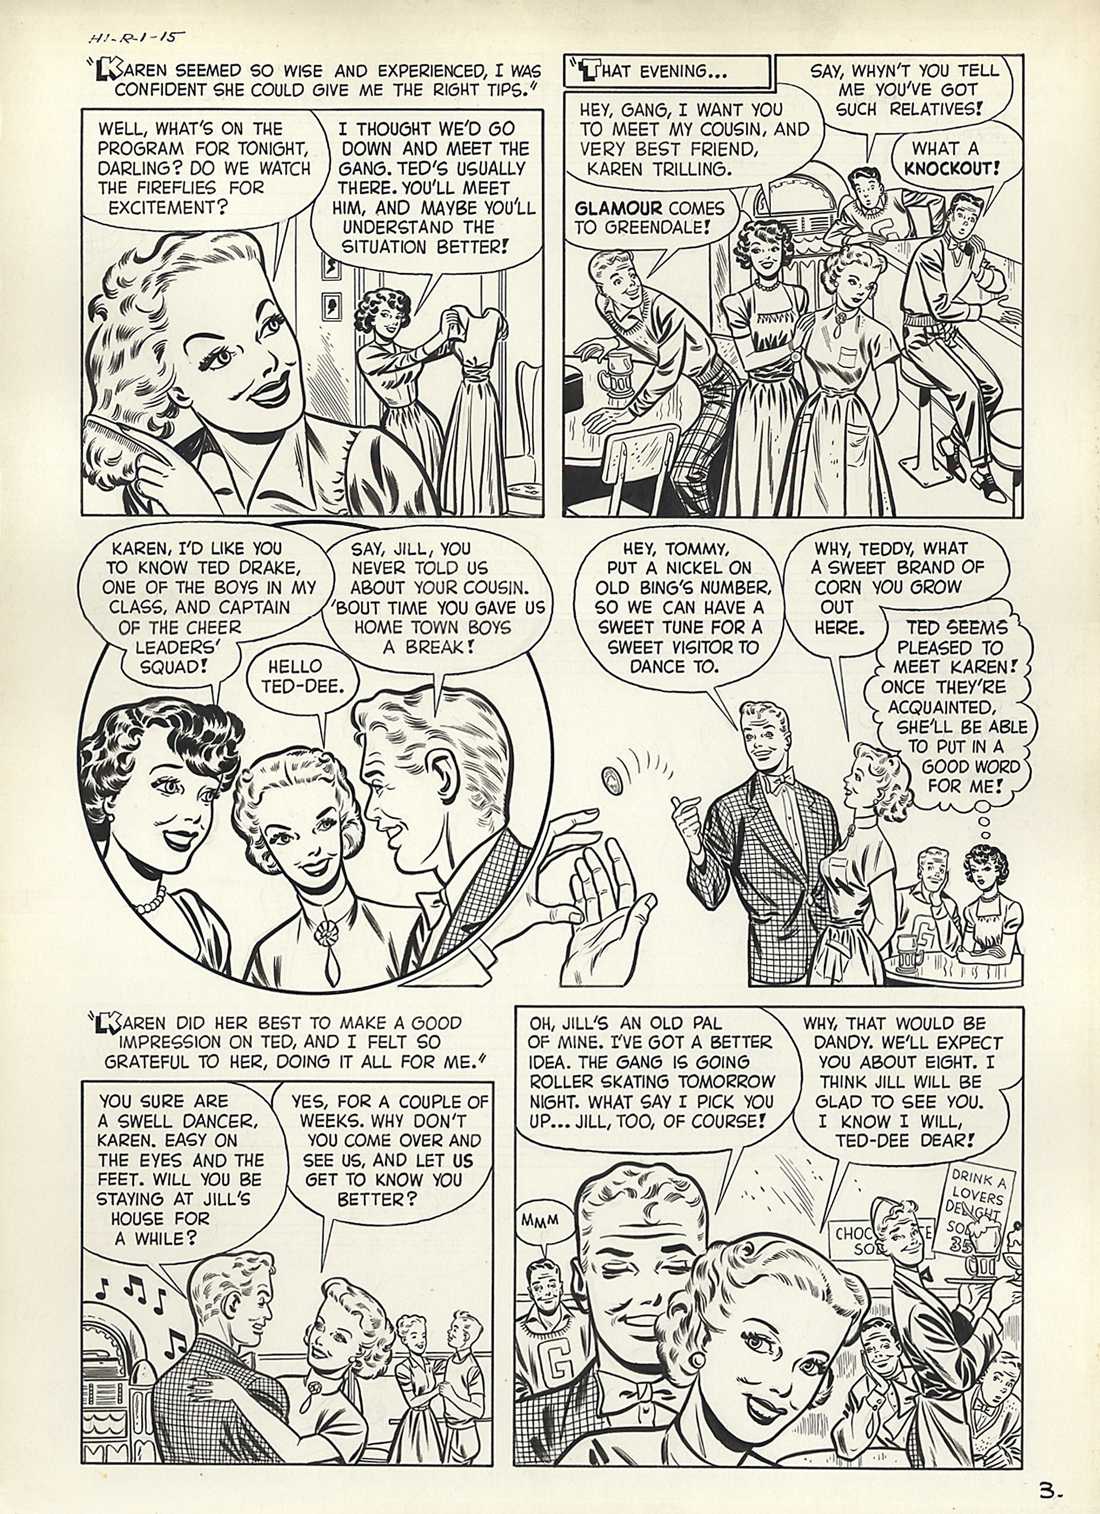 00470_3 00470_3Complete original 9-page story art for Hi-School Romances #1, "I Was Betrayed" (Harvey, 1949) (see 00470 through 00470_5 to view other pages from the story) (Item 00470_3) |
Bailey, Ray | complete story | Comic Art |
 00470_4 00470_4Complete original 9-page story art for Hi-School Romances #1, "I Was Betrayed" (Harvey, 1949) (see 00470 through 00470_5 to view other pages from the story) (Item 00470_4) |
Bailey, Ray | complete story | Comic Art |
 00470_5 00470_5Complete original 9-page story art for Hi-School Romances #1, "I Was Betrayed" (Harvey, 1949) (see 00470 through 00470_5 to view other pages from the story) (Item 00470_5) |
Bailey, Ray | complete story | Comic Art |
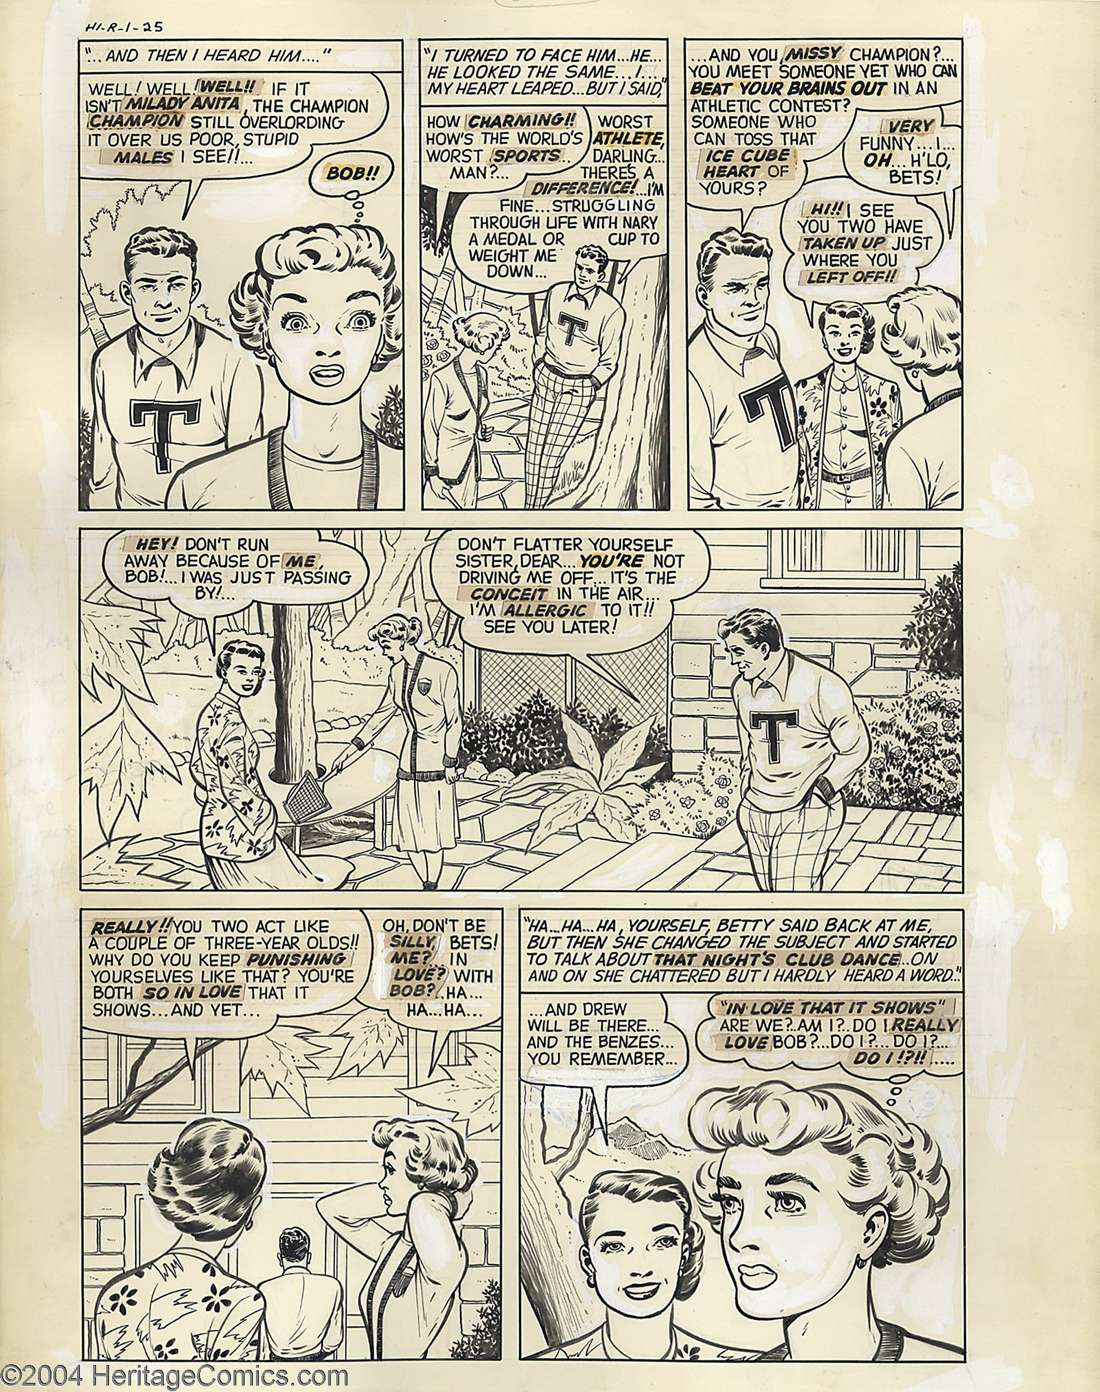
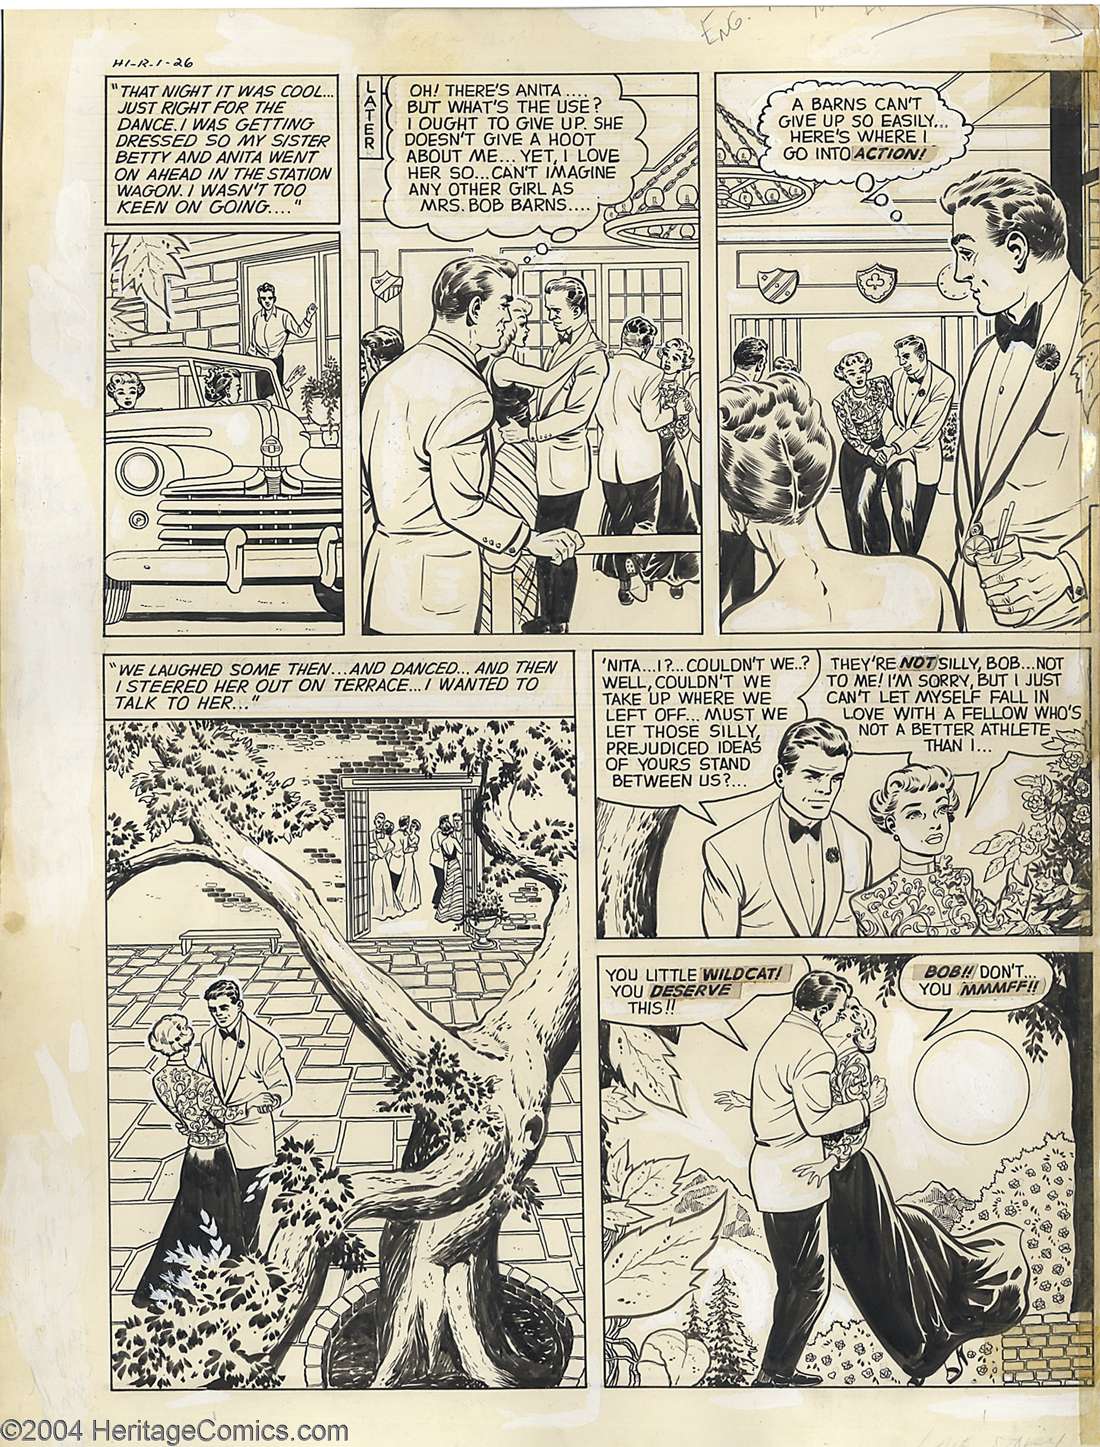
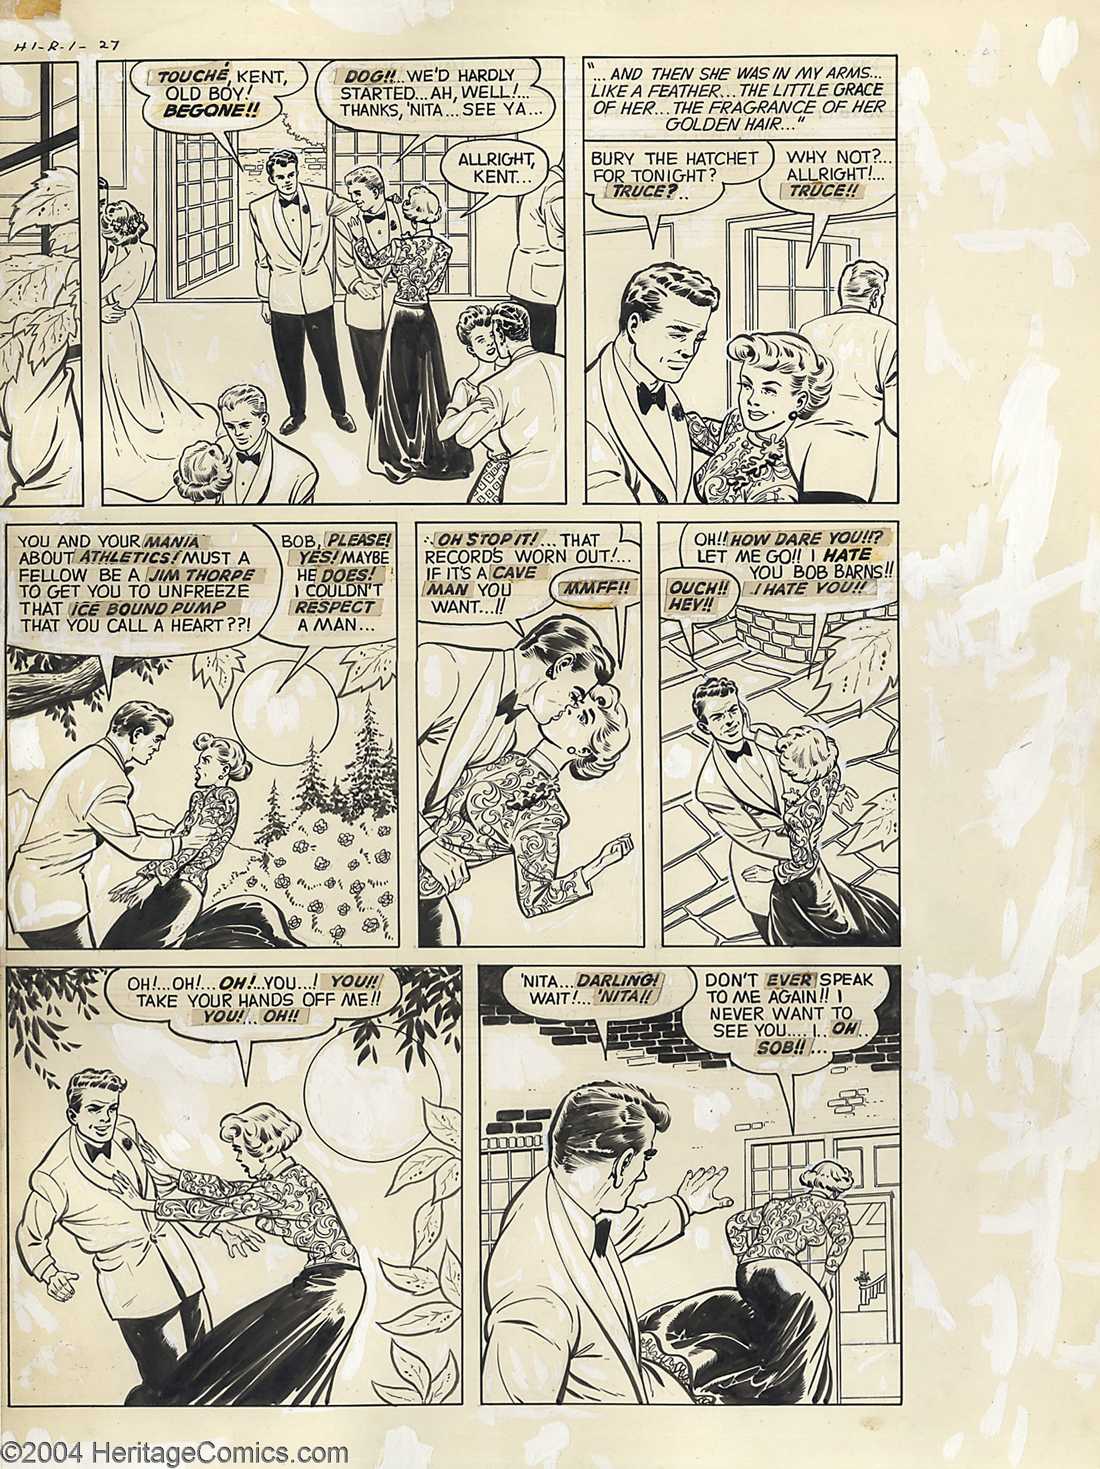
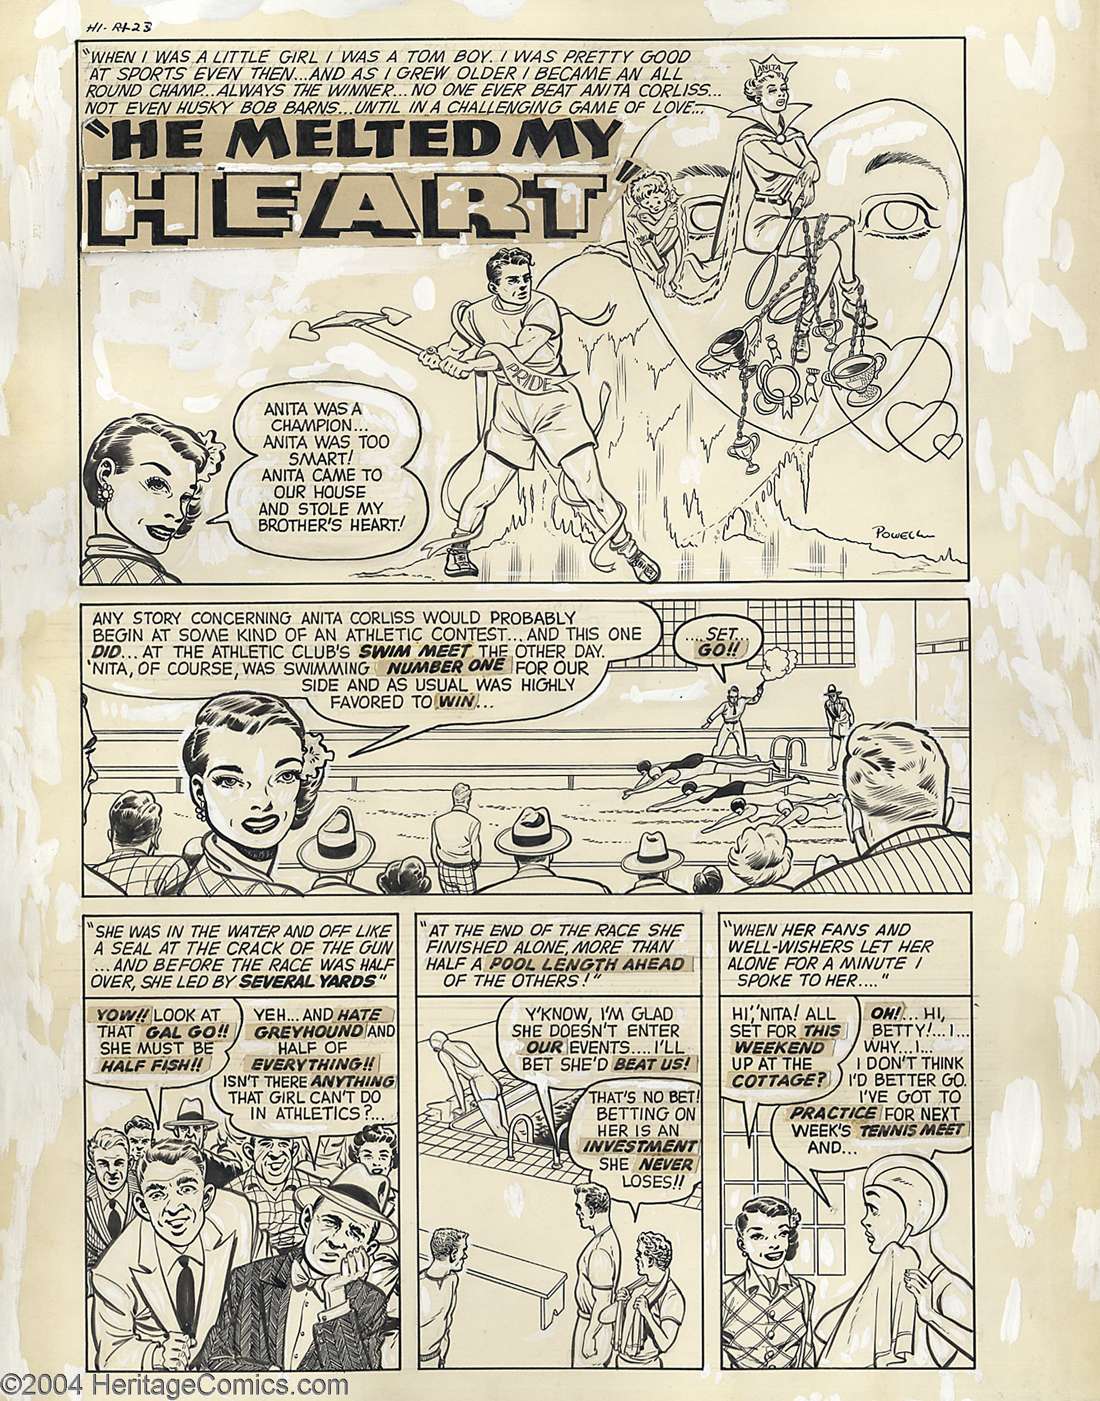 00471 00471Complete original 8-page story art for Hi-School Romances #1, "He Melted My Heart" (Harvey, 1949) (see 00471 through 00471_5 to view other pages from the story) (Item 00471) |
Powell, Bob | complete story | Comic Art |
 00471_2 00471_2Complete original 8-page story art for Hi-School Romances #1, "He Melted My Heart" (Harvey, 1949) (see 00471 through 00471_5 to view other pages from the story) (Item 00471_2) |
Powell, Bob | complete story | Comic Art |
 00471_3 00471_3Complete original 8-page story art for Hi-School Romances #1, "He Melted My Heart" (Harvey, 1949) (see 00471 through 00471_5 to view other pages from the story) (Item 00471_3) |
Powell, Bob | complete story | Comic Art |
 00471_4 00471_4Complete original 8-page story art for Hi-School Romances #1, "He Melted My Heart" (Harvey, 1949) (see 00471 through 00471_5 to view other pages from the story) (Item 00471_4) |
Powell, Bob | complete story | Comic Art |
 00471_5 00471_5Complete original 8-page story art for Hi-School Romances #1, "He Melted My Heart" (Harvey, 1949) (see 00471 through 00471_5 to view other pages from the story) (Item 00471_5) |
Powell, Bob | complete story | Comic Art |
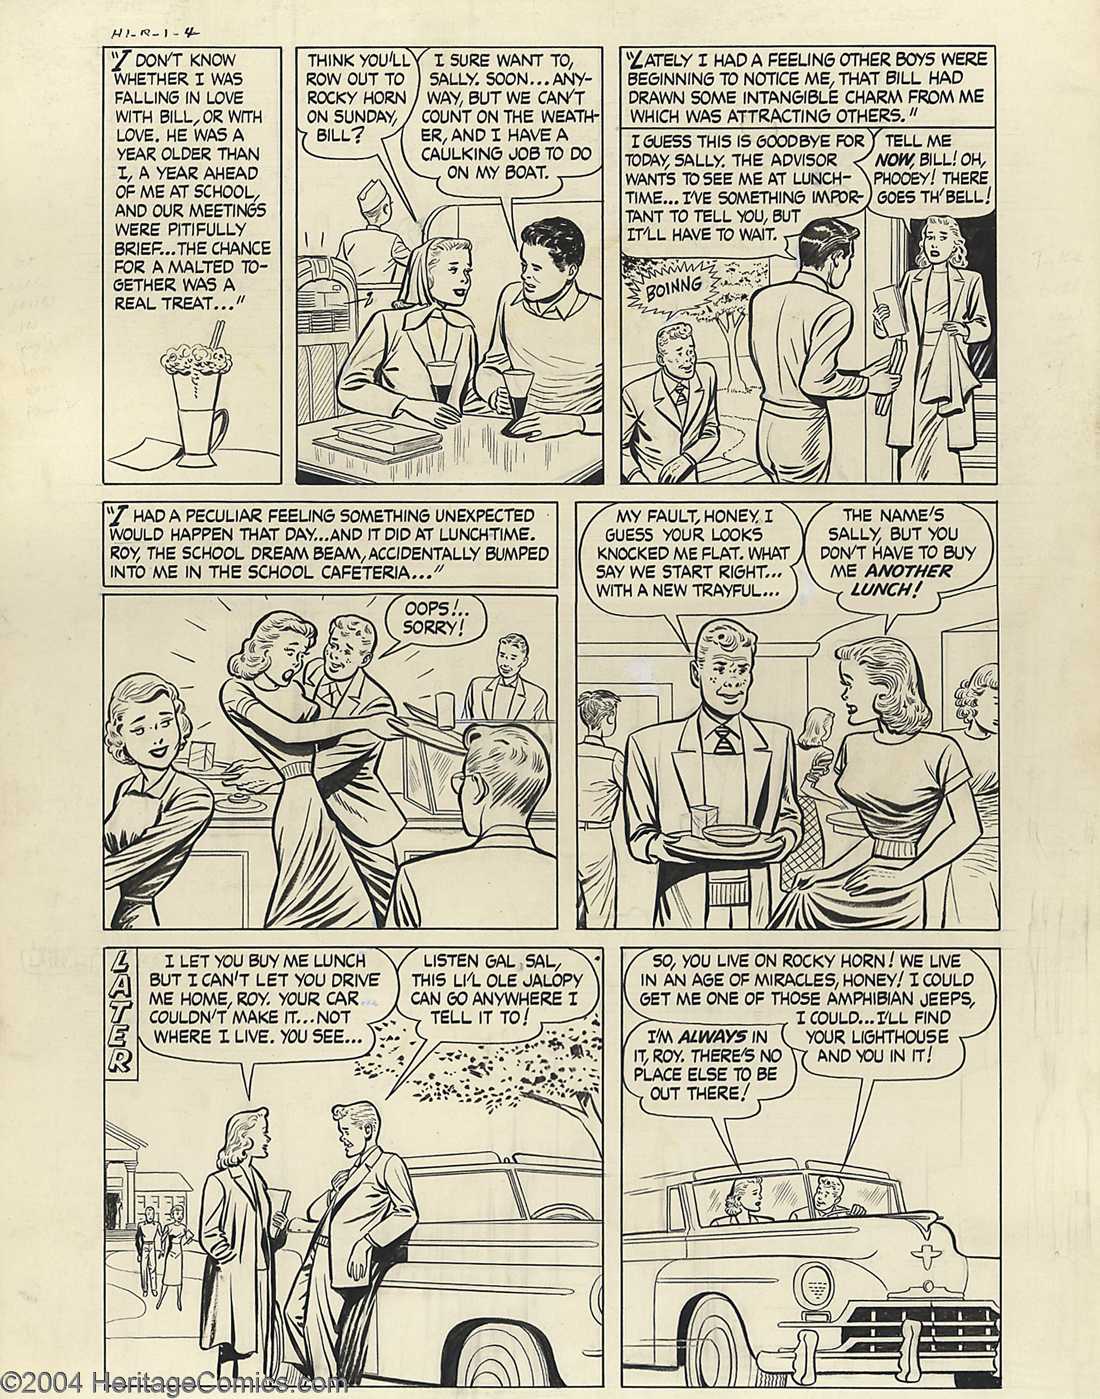
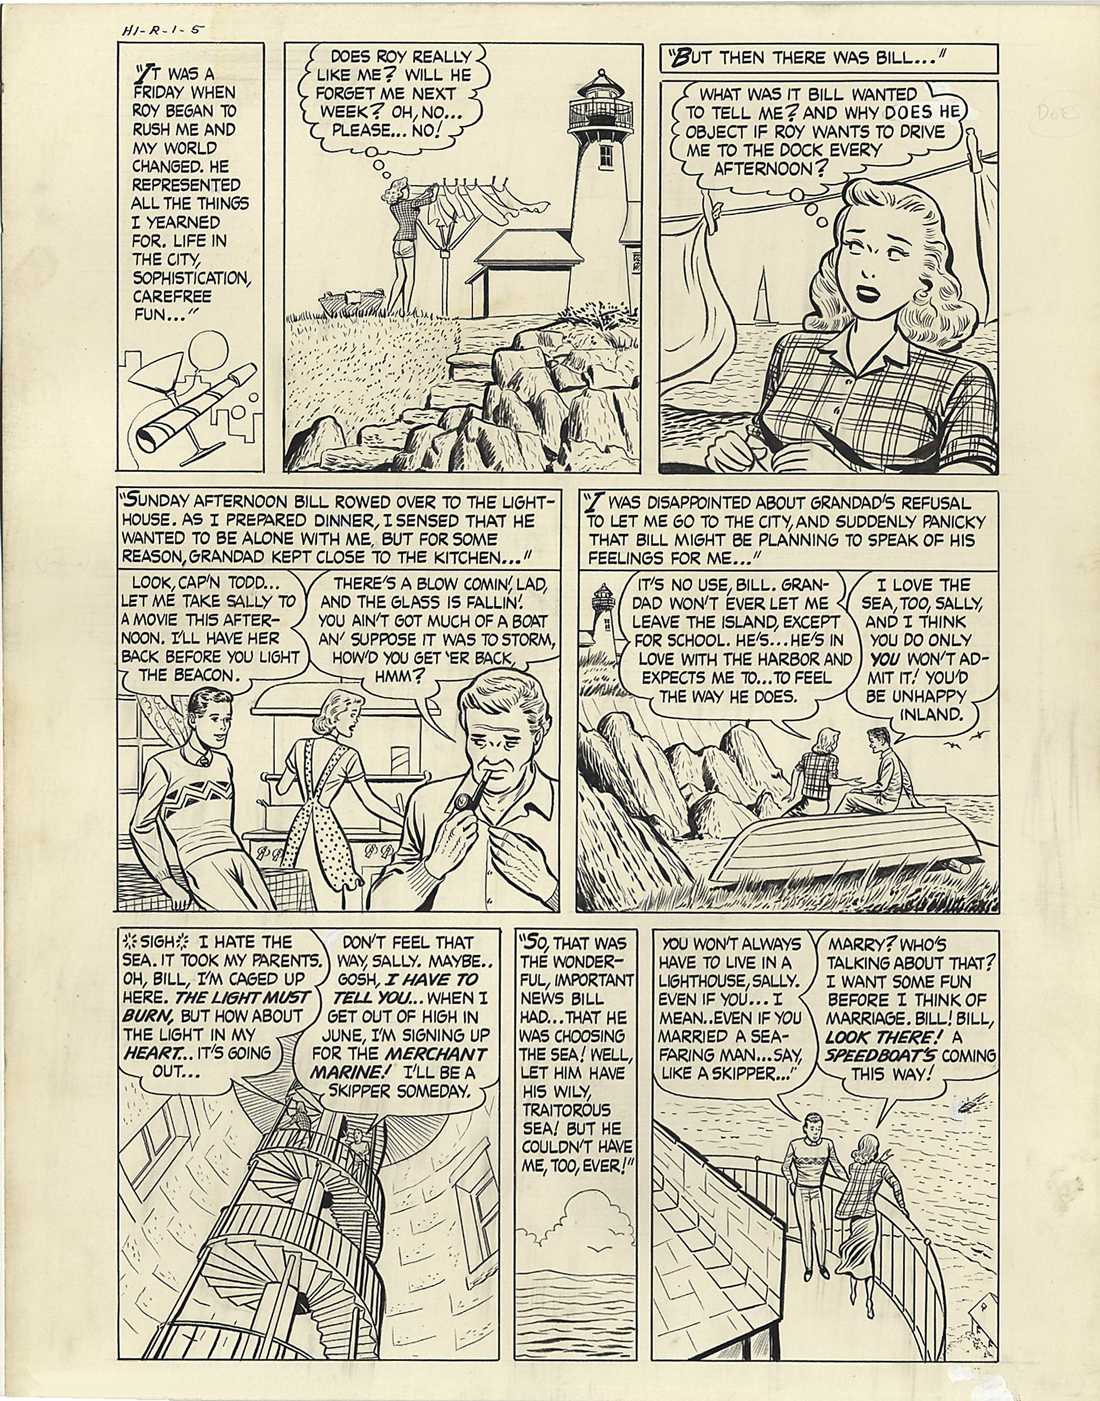
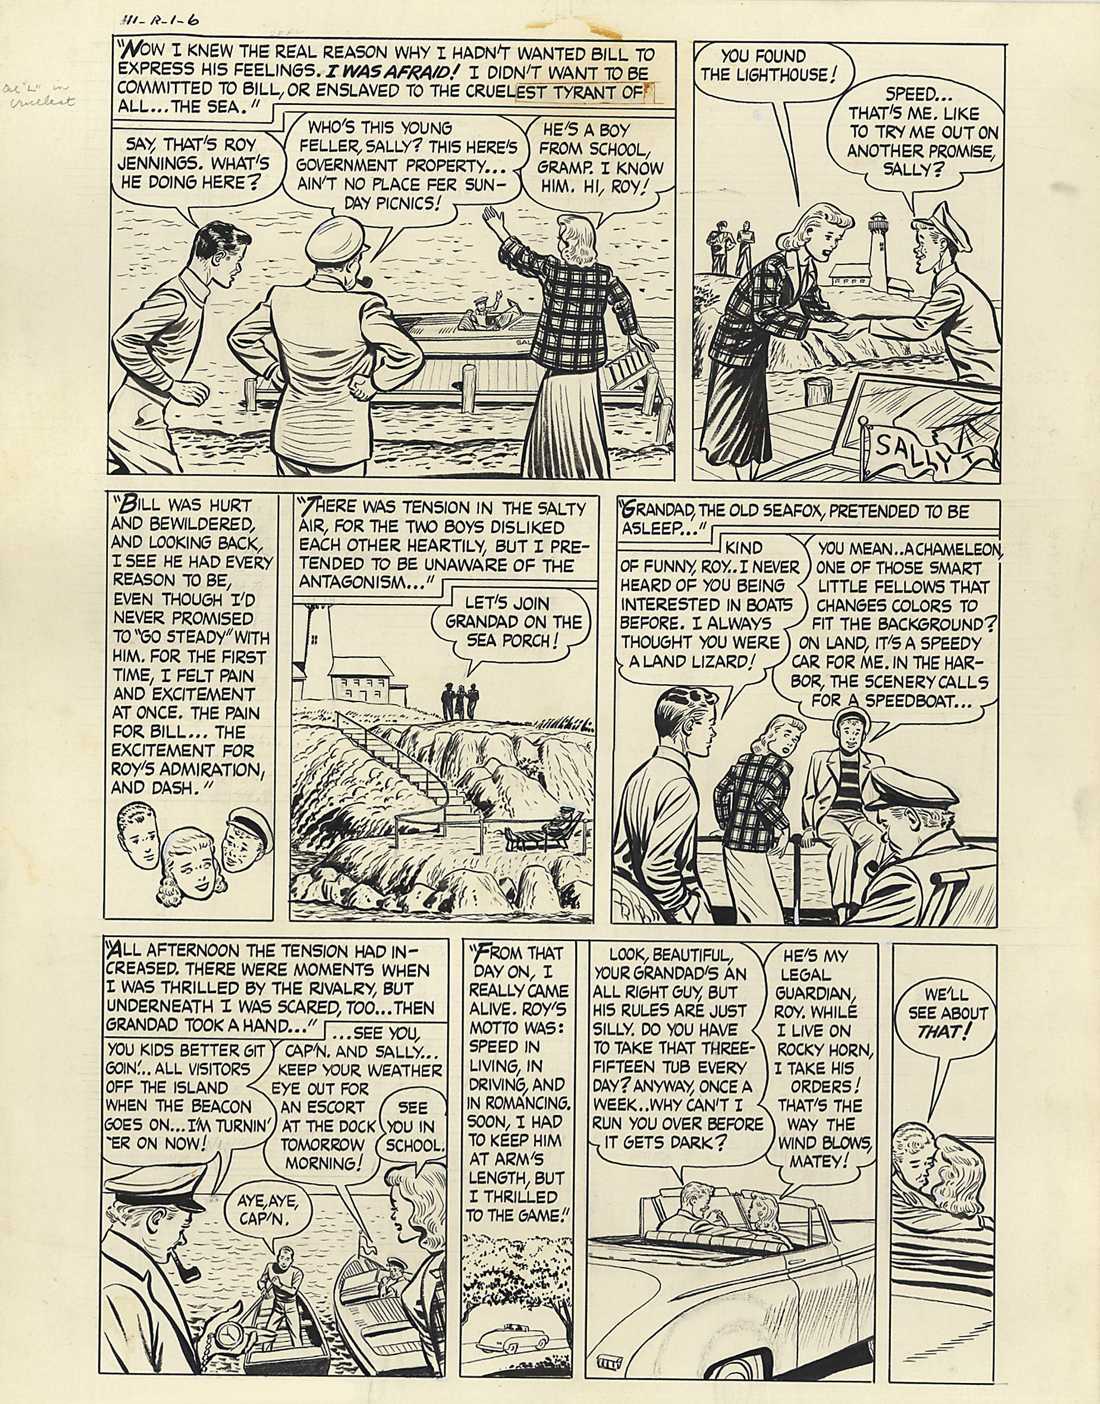
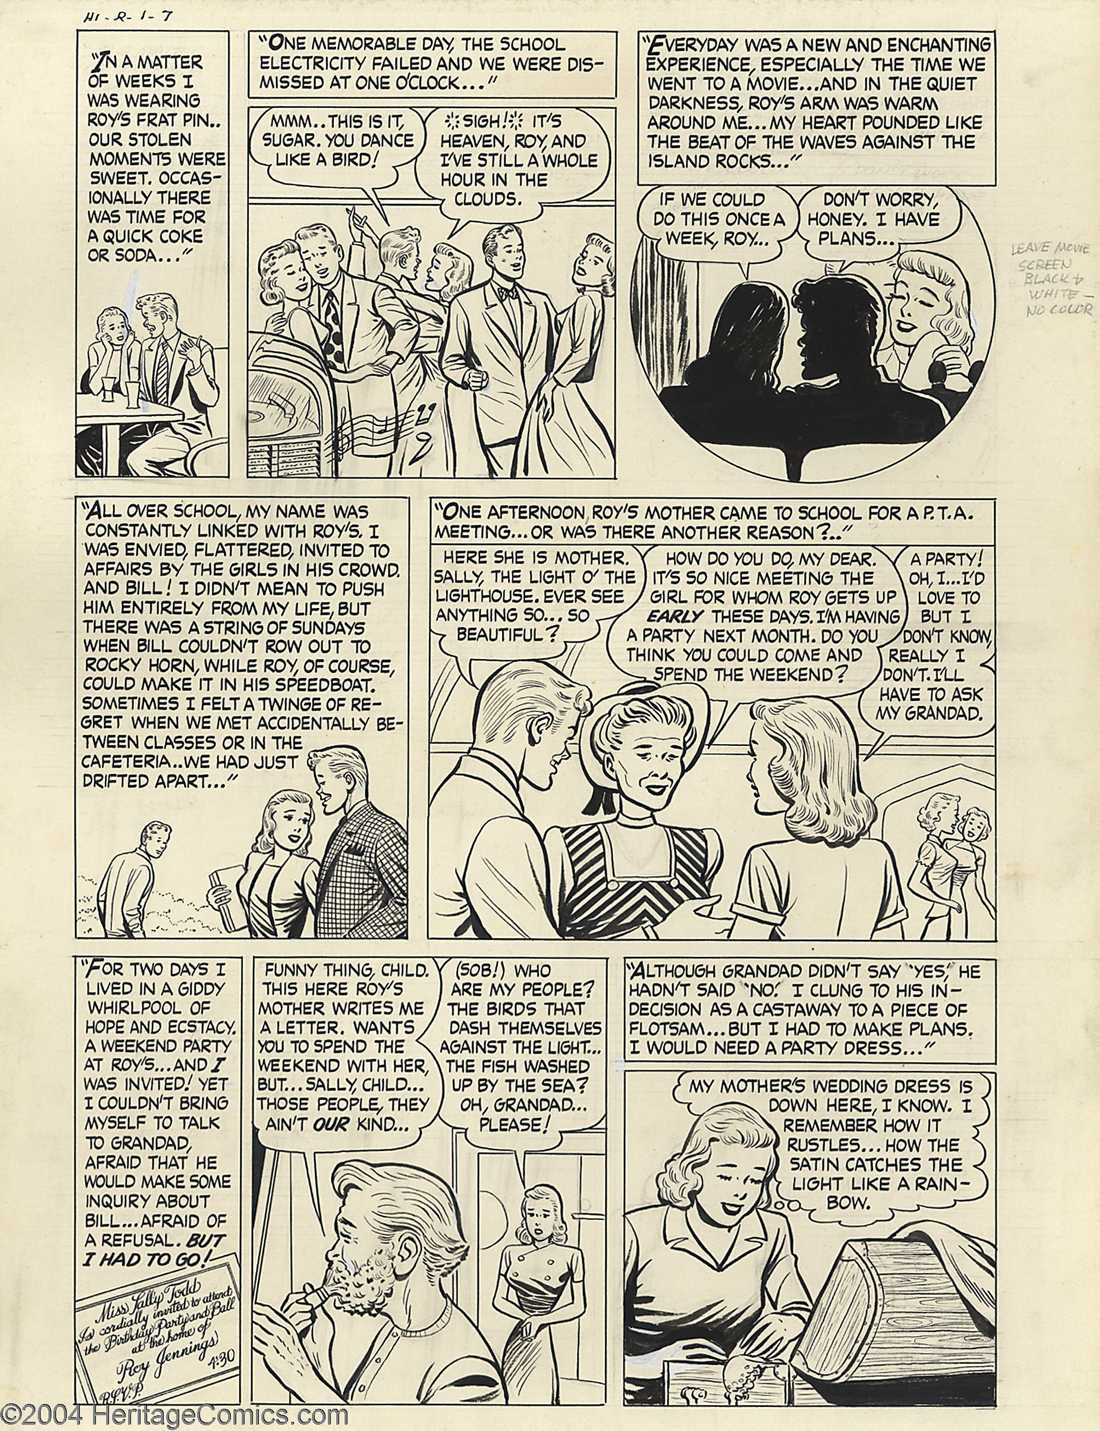
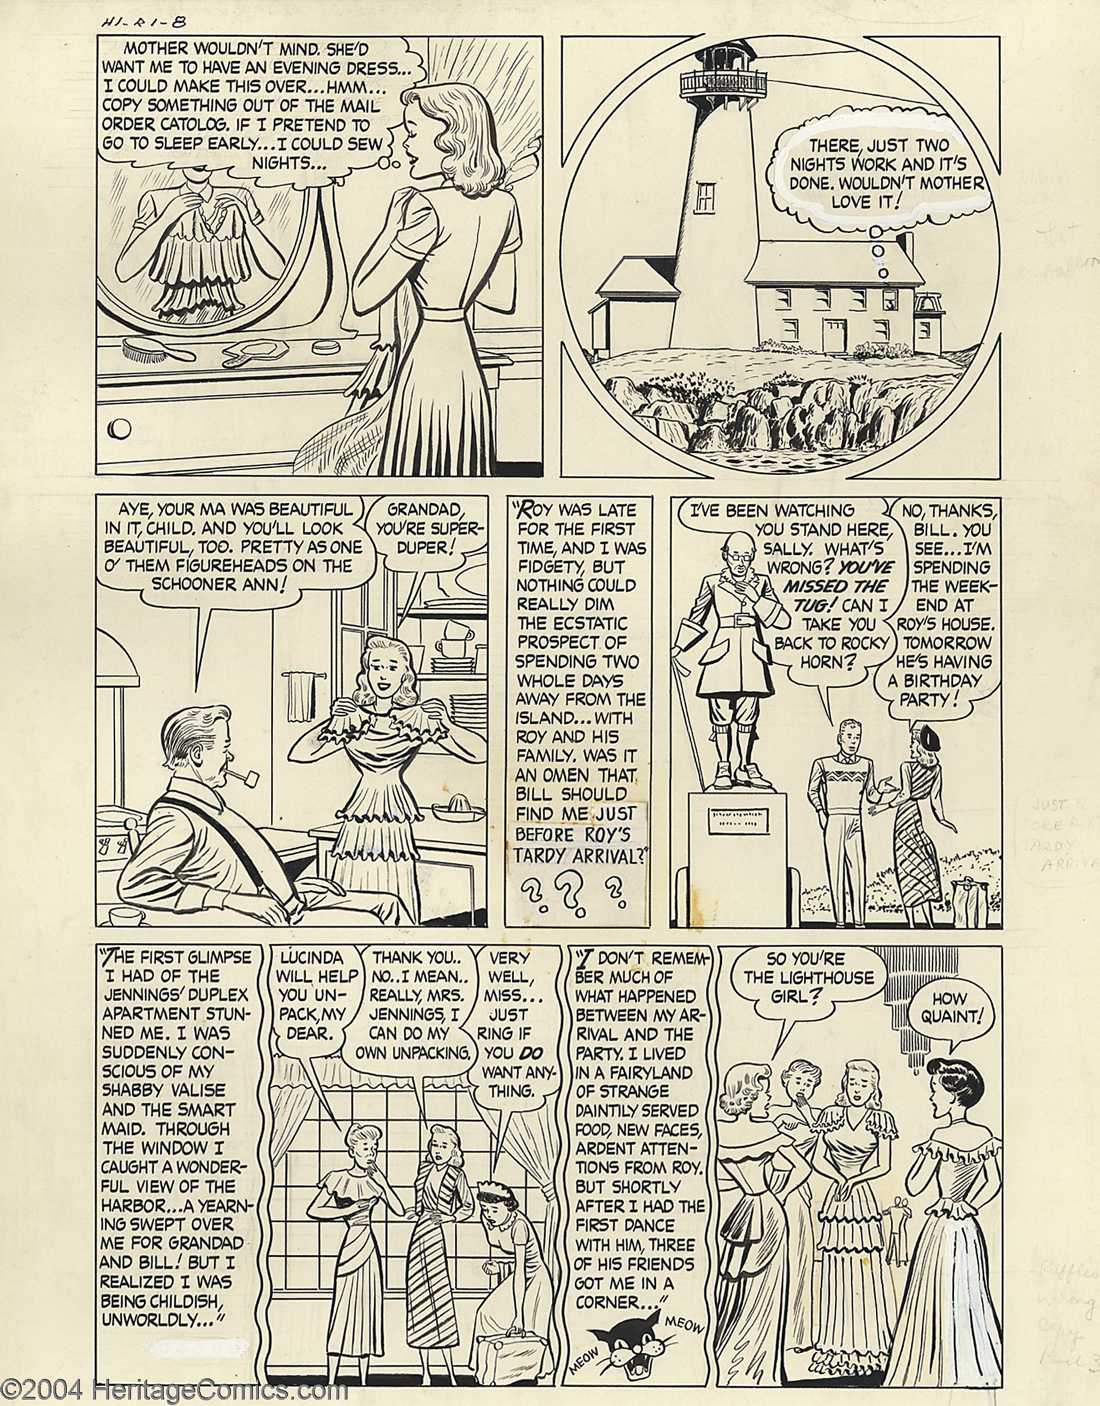
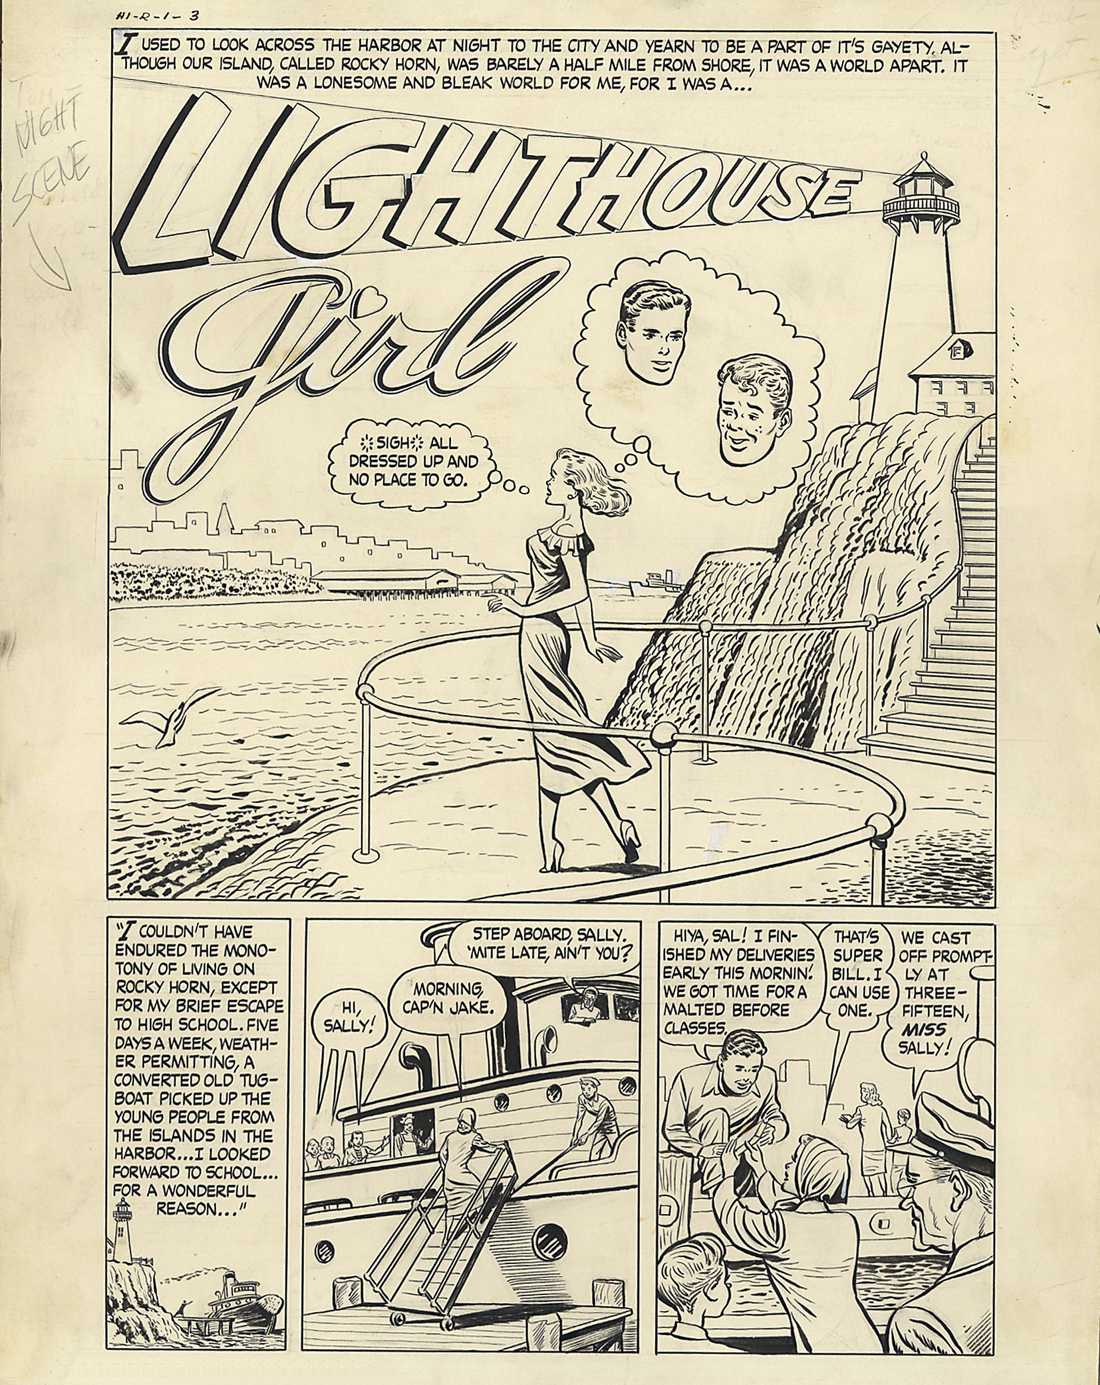 00472 00472Complete original 10 page story art for Hi-School Romances #1, "Lighthouse Girl" (Harvey, 1949) (see 00472 through 00472_6 to view other pages from the story) (Item 00472) |
Hickey, Tom | complete story | Comic Art |
 00472_2 00472_2Complete original 10 page story art for Hi-School Romances #1, "Lighthouse Girl" (Harvey, 1949) (see 00472 through 00472_6 to view other pages from the story) (Item 00472_2) |
Hickey, Tom | complete story | Comic Art |
 00472_3 00472_3Complete original 10 page story art for Hi-School Romances #1, "Lighthouse Girl" (Harvey, 1949) (see 00472 through 00472_6 to view other pages from the story) (Item 00472_3) |
Hickey, Tom | complete story | Comic Art |
 00472_4 00472_4Complete original 10 page story art for Hi-School Romances #1, "Lighthouse Girl" (Harvey, 1949) (see 00472 through 00472_6 to view other pages from the story) (Item 00472_4) |
Hickey, Tom | complete story | Comic Art |
 00472_5 00472_5Complete original 10 page story art for Hi-School Romances #1, "Lighthouse Girl" (Harvey, 1949) (see 00472 through 00472_6 to view other pages from the story) (Item 00472_5) |
Hickey, Tom | complete story | Comic Art |
 00472_6 00472_6Complete original 10 page story art for Hi-School Romances #1, "Lighthouse Girl" (Harvey, 1949) (see 00472 through 00472_6 to view other pages from the story) (Item 00472_6) |
Hickey, Tom | complete story | Comic Art |
 00484 00484Complete original 7-page story art for Crime Patrol #16, "Trapped in the Tomb" page 1 (EC, 1950) (see 00484 through 00484_7 to view the other pages from this story) (Ecart) (Item 00484) |
Roussos, George | complete story | Comic Art |
 00484_2 00484_2Complete original 7-page story art for Crime Patrol #16, "Trapped in the Tomb" page 2 (EC, 1950) (see 00484 through 00484_7 to view the other pages from this story) (Ecart) (Item 00484_2) |
Roussos, George | complete story | Comic Art |